Part 19: Puzzle (2 of 2)
Part 19: Puzzle (2 of 2)Turn 10

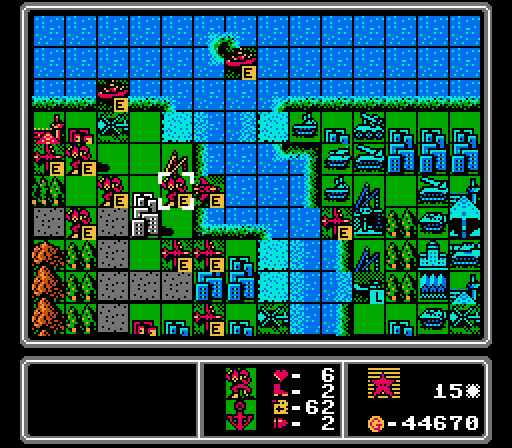
First order of business is to take advantage of the opening that the AI left us last time, and take a bite out of the battleship.
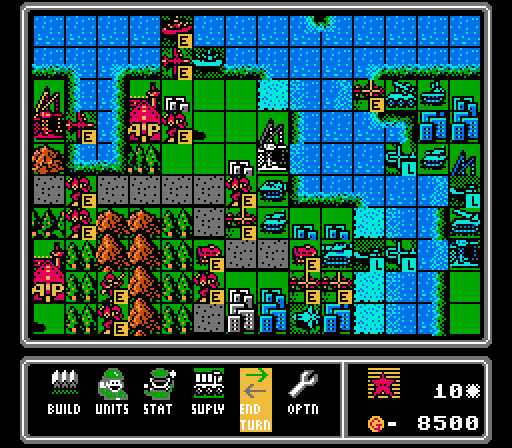
Our copters take out the last of the enemy infantry on the island, though there are a couple more loaded copters headed our way. We've got a couple more captures started, though they're more a distraction than a serious attempt. Back at base, we get another battleship.

We're running low on copters now and took some hits on our mechs and APCs, but Blue is still pretty well bottled up. The new rocket and lander that the AI just built will slow us down but not by much.
Turn 11

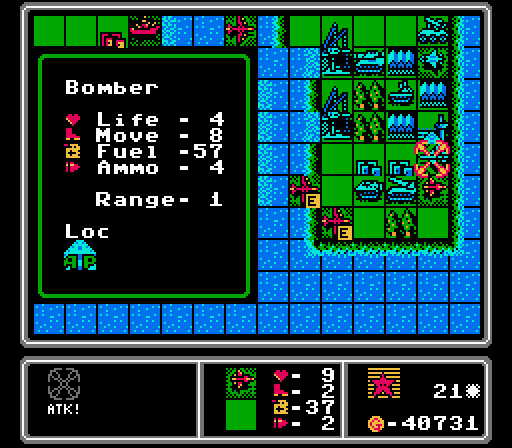
The highlighted mech isn't going to complete its capture, but it performed its distraction job beautifully as the other mech on the upper-left was left untouched and completed its own capture. We sneak another mech onto the bottom row of cities, take out the enemy battleship with a pair of bomber strikes, and harass the new infantry on the port with a couple of copters. Our fighters are on scene and ready to cause trouble next turn, too.

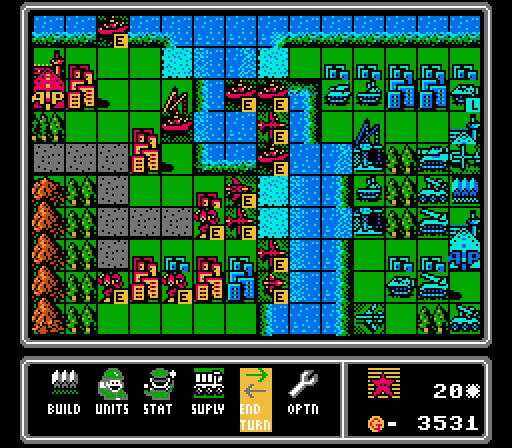
We have enough income to throw out a battleship or a couple of bombers every turn now, so that's what we're going to do for most of the rest of the map. There aren't many problems they can't solve.

Our mechs got taken out as expected, but what's worse is I foolishly left our lead battleship too far out in front, and the enemy bomber was able to reach it.
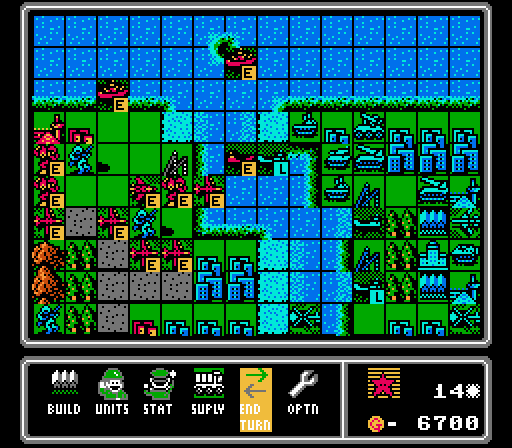
Turn 12

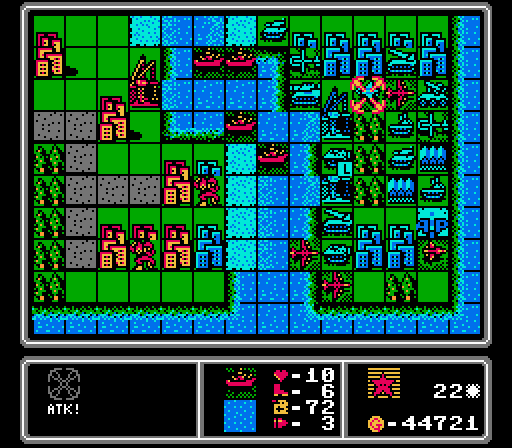
With the bombers' initial mission of taking out the enemy battleship already complete, they set their sights to clearing the enemy ground units off of the central island. We've got more mechs approaching from the initial capturing wave - my next goal is that neutral port. I'm able to get one fighter after the enemy bomber, and the enemy AA missile was kind enough to retreat to where it can't reach us, for some reason.


While the AA missile can't get our fighter, the lander can. I completely missed that opening, but it's still a good trade to take the enemy bomber out of the fight.

Blue lands another infantry on the upper-left, and builds another rocket and AA missile to turn its starting island into a tricky fortress to approach.
Turn 13

Our own lander is able to get the jump on the enemy fighter here, allowing our fighters to finish it off and our mech to sneak in to start capturing the port.

Our bombers saunter over to wipe out the medium tank.
There are four more bombers and a couple of battleships on the way.

Blue builds a new lander, while another lander gets in a shot on our fighter again. Those four landers are the next big obstacle for the map, as they can threaten both our battleships and our bombers. The enemy APC gets in a hit on our capturing mech, but it's taken so many counter-attacks from mechs now that it can't put together a strong attack anymore.
Turn 14

We're able to get in a capture on the bottom row of cities, thanks to some timely merging last turn.
One enemy lander falls to the combined attacks of our battleship, lander, and bomber. The rest of the turn is spent destroying the enemy APC and injuring the capturing infantry.

I did not notice that our lander would be in rocket range. Or that the damaged bomber would be able to come in and finish it off. Oops.

We also lost one of our bombers to another lander, but we have plenty more bombers on the way so I'll take the damage to the lander anyway. Blue builds a medium tank and an APC that will never leave their home island.
Turn 15

The last neutral port is ours!

An enemy infantry is making a clever play over the mountains into our lightly-guarded territory, so I move a mech down to stop him.
I send a damaged bomber after the lander that had retreated to the enemy port, knowing I'm going to lose it on the enemy phase. Another fresh bomber takes out the damaged lander that attacked us last turn, while our damaged fighter finishes off the enemy bomber. Our other bombers and one of our battleships wipe out the rest of the enemy infantry, leaving only the one in the mountains and a couple of copters on the central island.

I could've built a couple more bombers, but the enemy copters are annoying to chase down with battleships so instead we get a scout, along with another battleship.

Blue's last remaining lander is loaded up with a rocket and a medium tank. Blue also gets its own scout, which will soon be harassing our bombers.
Turn 16

The second phase of the map, taking control of the central island, is nearly complete. So our battleships position themselves for phase three (total wipeout) while I throw three bombers away to take out the enemy lander (which was carrying a rocket and a medium tank, well worth the trade given our current advantage).

Sure enough, we lose the bombers to a couple of AA missiles and the scout. The remaining enemy copters waste their turns attacking a mech that already captured one of Blue's cities, though. Blue does build a new bomber to try and scare off our battleships.
Turn 17

Our battleships move away from the enemy bomber, with a fresh one joining the line. A bomber gets in an attack on the enemy AA missile, while the mechs continue to take over the rest of the central island. We build two more bombers to help replace the ones we lost last turn.

Off the top of the screen, the enemy scout strikes at our bomber, but is in range of our battleships. Blue blows all its cash on a new battleship, which we'll take care of as soon as it leaves the port. As I discovered when I sent three bombers against a lander last turn, the port provides a significant defensive bonus to any naval units on it.
Turn 18

I got sick of the enemy copters hanging around shooting up our mechs, so took one out with a battleship and downed the other with the scout. The other battleships targeted the enemy scout and an AA tank, while our bombers lined up for a run into enemy territory next turn. I'm also sick of that last enemy infantry hiding in the mountains, so sent in the mech to scare it out.

The enemy scout downs another bomber, while the enemy bomber moves up to harass our mechs again. The enemy battleship moved off the port but stayed out of range of our own battleships. It'll be our primary target next turn. Blue also gets a new lander.
Turn 19

I've been repairing this fighter on a captured airport for the last several turns, and it's finally able to fly forth and shoot down the enemy scout.

Our scout is then able to fly down and put the hurt on the enemy bomber.

Blue left an opening for two bombers to come in and wreck the battleship but stay out of range of the AA missiles. They'll still fall to the AA tanks and the lander, but at least they'll do some more damage on the way out.

We send one battleship back to the captured port for repairs and reloading, while the others reposition to strike deeper into the enemy island.

As expected we lose one bomber to an AA tank and a lander, but the other one remains untouched. The new medium tank and copter that Blue just built won't slow us down much, so we're making good progress now.
Turn 20
Our battleships finish off the enemy lander and battleship, handing us total control of the seas now. A new wave of bombers arrive with fresh battleships right behind them. We also finally finish off the enemy infantry that had been hiding in the mountains for several turns.

Blue re-arranges the deck chairs and throws out another AA tank and scout to slow down the bomber wave that's coming for it.
Turn 21
Two bombers take out one AA missile at the bottom of the map, while our scout finishes off the enemy bomber.

The battleships strike at the nearby rocket and take out an AA tank, while another bomber cruises in for a strike against the other AA missile and our fighter gets a shot in on the scout. The enemy anti-air presence is suddenly significantly reduced.

I have more than enough battleships, and they typically don't get hurt or need replacing, so it's all bombers from here on out.

The AA tank took out our fighter, and the AA missile hurt our scout, but that was it. Blue built a tank, a copter, and another AA tank. Mere annoyances.
Turn 22
We don't have much anti-air power left ourselves, so the battleships will be doing the heavy lifting on that front from here on out. To start, one takes out the enemy scout.

The other battleships shoot down a copter and damage a rocket and a tank. Two bombers take out the other rocket while another fails to finish off the AA missile, and our scout retreats.

Two AA tanks hurt themselves to take out a bomber, and the rocket and tank get in some chip damage on a battleship. Blue then wastes most of its funds on a medium tank.
Turn 23

That's the last property captured on the central island now. I'm not even going to bother trying to capture anything on Blue's starting island, we're actually pretty close to a wipeout victory already.

Collectively our battleships and bombers took out a medium tank, an AA tank, an AA missile, and a rocket while also damaging another AA tank, a regular tank, and a copter.

The copter then suicided on a nearby mech, saving us some trouble next turn.

The damaged AA tank also killed itself on a bomber, but Blue bought a replacement, and another rocket.
Turn 24

The damaged bomber on the upper right actually ran out of fuel.

The battleships take out a tank and soften up each of the remaining units. That leaves the bombers free to take out the rocket and an APC and damage the remaining tank.

The enemy AA tank hurts itself on one of our bombers. More annoyingly, the AI builds another AA missile and a couple copters. None of the battleships are covering the airports so I won't be able to deal with those copters next turn.
Turn 25
I can at least take care of the remaining ground units, and block up all of the ground build points.
For some reason the AI moves out the copters into the range of multiple battleships each, and doesn't build anything new on the freed-up airports.
Turn 26
The mop-up has dragged on long enough as it is, so I won't complain about being able to end it here.
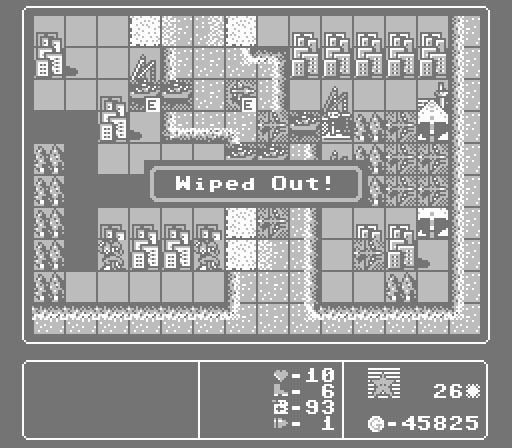
Another victory for Red Star! The main challenge didn't end up mattering a whole lot, but we also met the bonus challenge by not letting Blue Moon capture a single property!

Your COs for this map. I'm not really seeing any obvious references for either of those names.
Edit: A guess from the thread:
Arbitrary Number posted:
For the COs, Darby looks like he's a horse from a horse derby.
For Nikau, spelt with Japanese characters the first result on Google is this actor: https://en.wikipedia.org/wiki/Nǃxau_ǂToma
Apparently the first film he was in was the highest-grossing film of 1982 in Japan.
Famicom Wars came out in 1988, so the timing works out. The image is prettyif it is though

Well, 26 turns isn't a bad score. The average is 24 days; the challenge slowed us by a turn or so and I probably could have been more efficient in the middle of the map (there were definitely a couple points where I unnecessarily let our units get attacked), or cleaned up the end of the map more efficiently with a couple of fighters or scouts instead of yet more bombers.

There's another large island ahead of us, but first we're just dealing with the knobby peninsula. Up next is the Mist map. Thankfully the map name does not refer to a "fog of war" condition, which does not exist in this game. Our next challenge will be Hold the Line 2.0 - prevent enemy footsoldiers from even attempting to capture a property. Sounds impossible, but this next map is going to be something special....